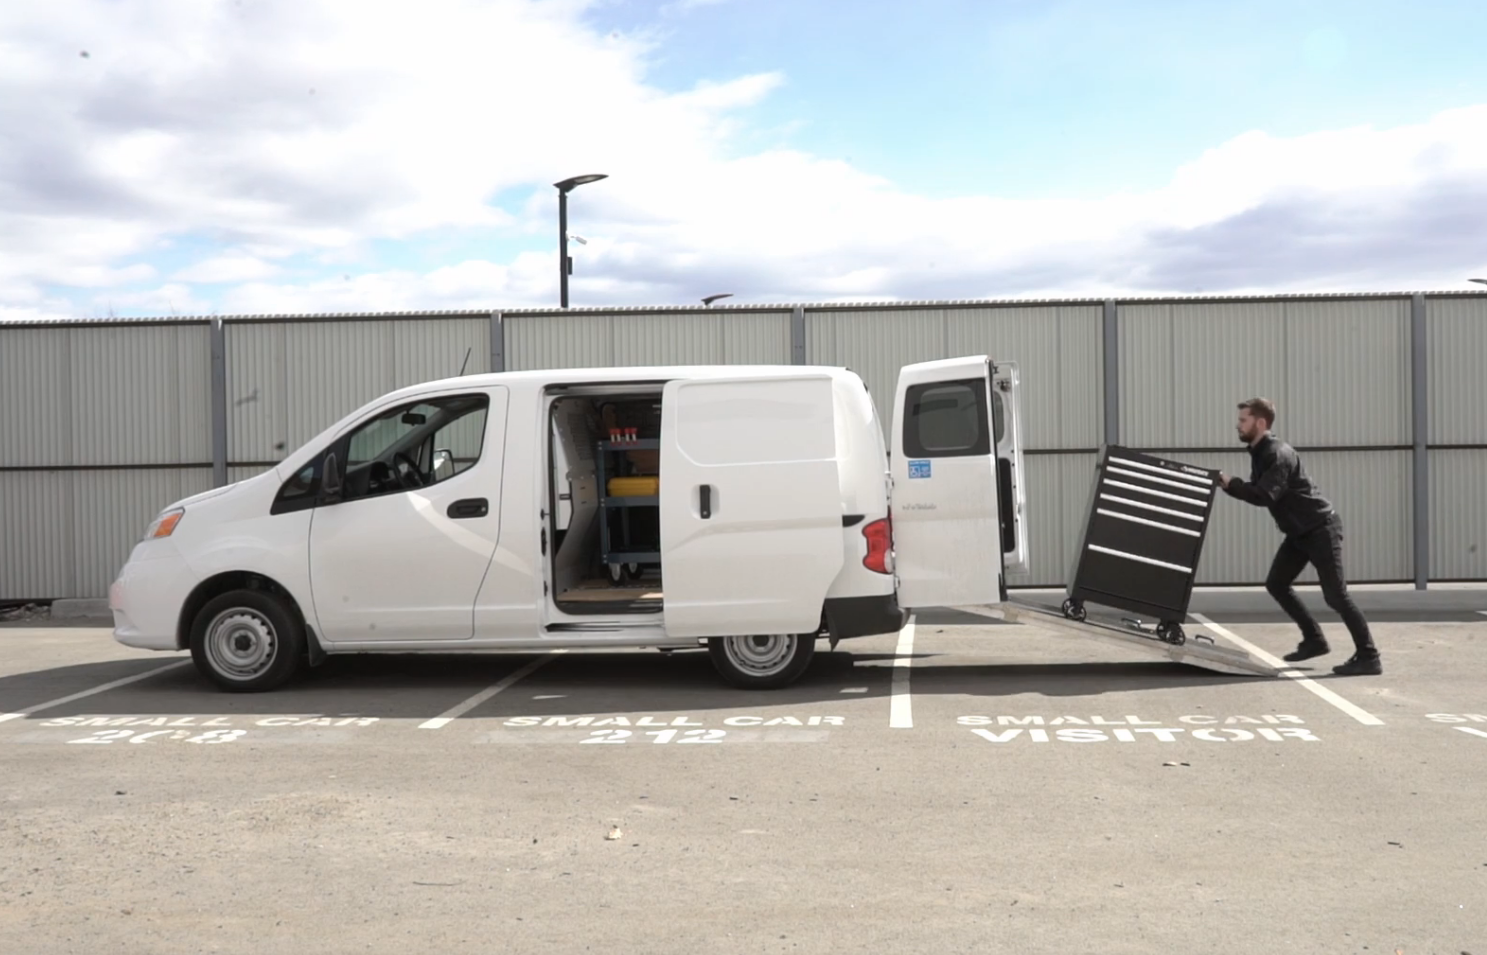
This is a game-changer for us. We’ve radically reduced the time we spend rifling around for gear, packing our vehicles, and worrying about whether we have everything we need. Now, our video production company van always has everything we need. Here’s how we made it happen.
The way we’ve outfitted our van is heavily inspired by David Winter’s ENG van video. You can see an extremely thorough walkthrough of his set-up by watching that video!
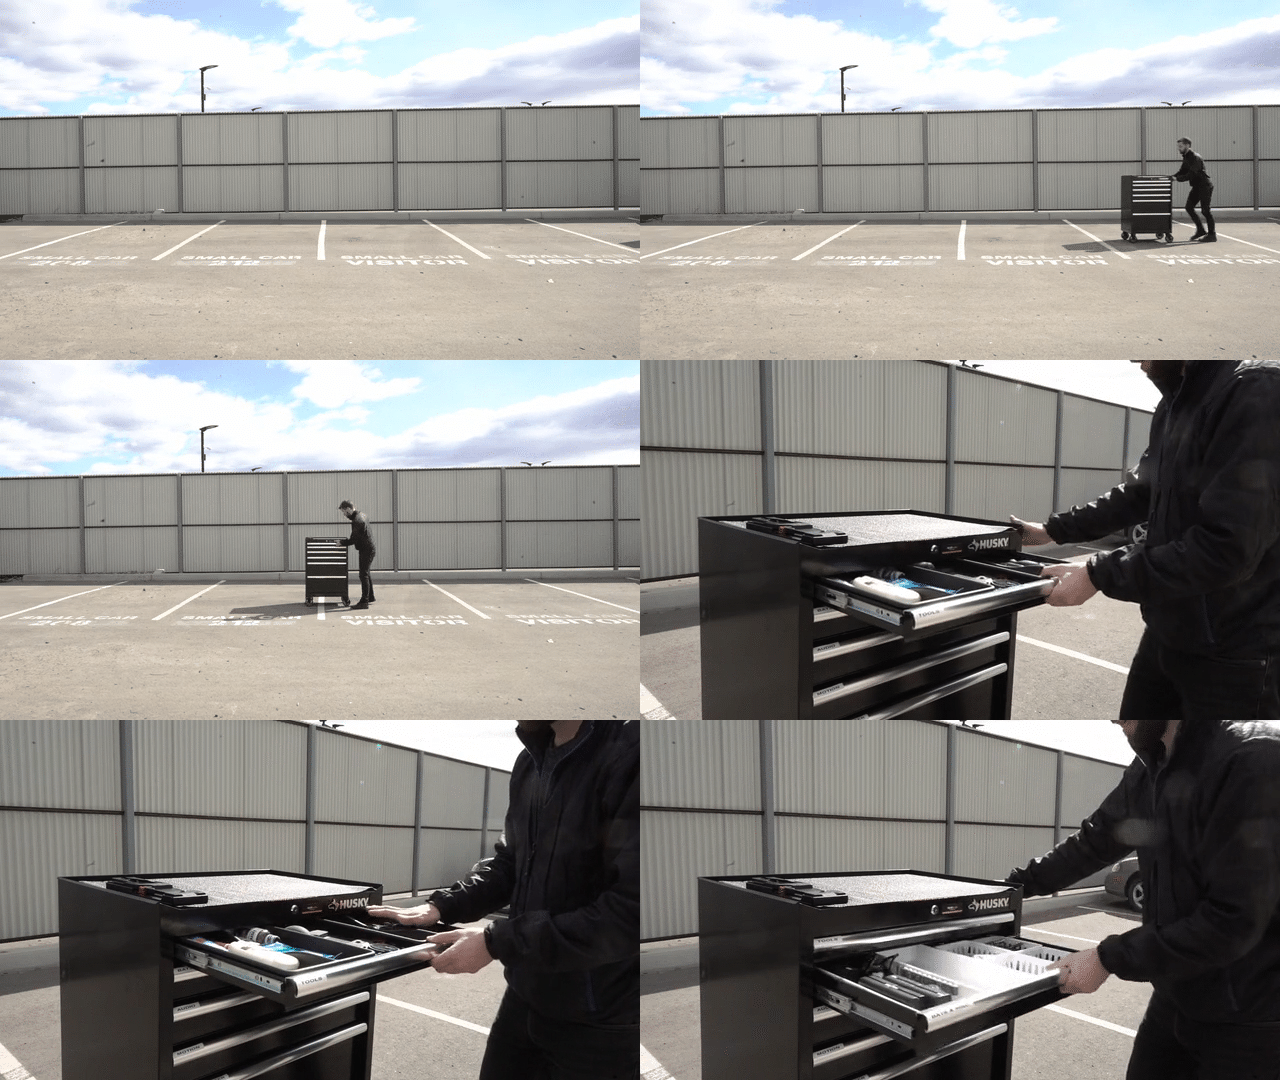
1. Organize a wheeled-cabinet for all our gizmos
Our goal was to get in and out of our own office quickly and efficiently. So, we purchased a wheeled chest-of-drawers that holds nearly all of our peripheral gear. A little gear organization and some label-making landed us a cabinet that holds the following (with everything in its right place):
- Tool drawer: tools, screwdrivers, back-up deodorant, snacks, headphones, clamps
- Audio drawer: lav microphones, handheld microphones, clips, cables, adaptors, audio recorder, windsock
- Motion drawer: gimbal, lights, selfie-sticks, miniature drone, drone accessories, SD cards, footage back-up device
- Miscellaneous drawer #1: LED lights for shooting, and a teleprompter
- Miscellaneous drawer #2: a 5-in-1 reflector, light gels, a bigger drone, and other larger items
Now, if we’re on a shoot, we don’t worry that we may have forgotten a crucial item. Or when a situation arises when we made need something that couldn’t have been planned for, we now have the assurance that we already have it with us.
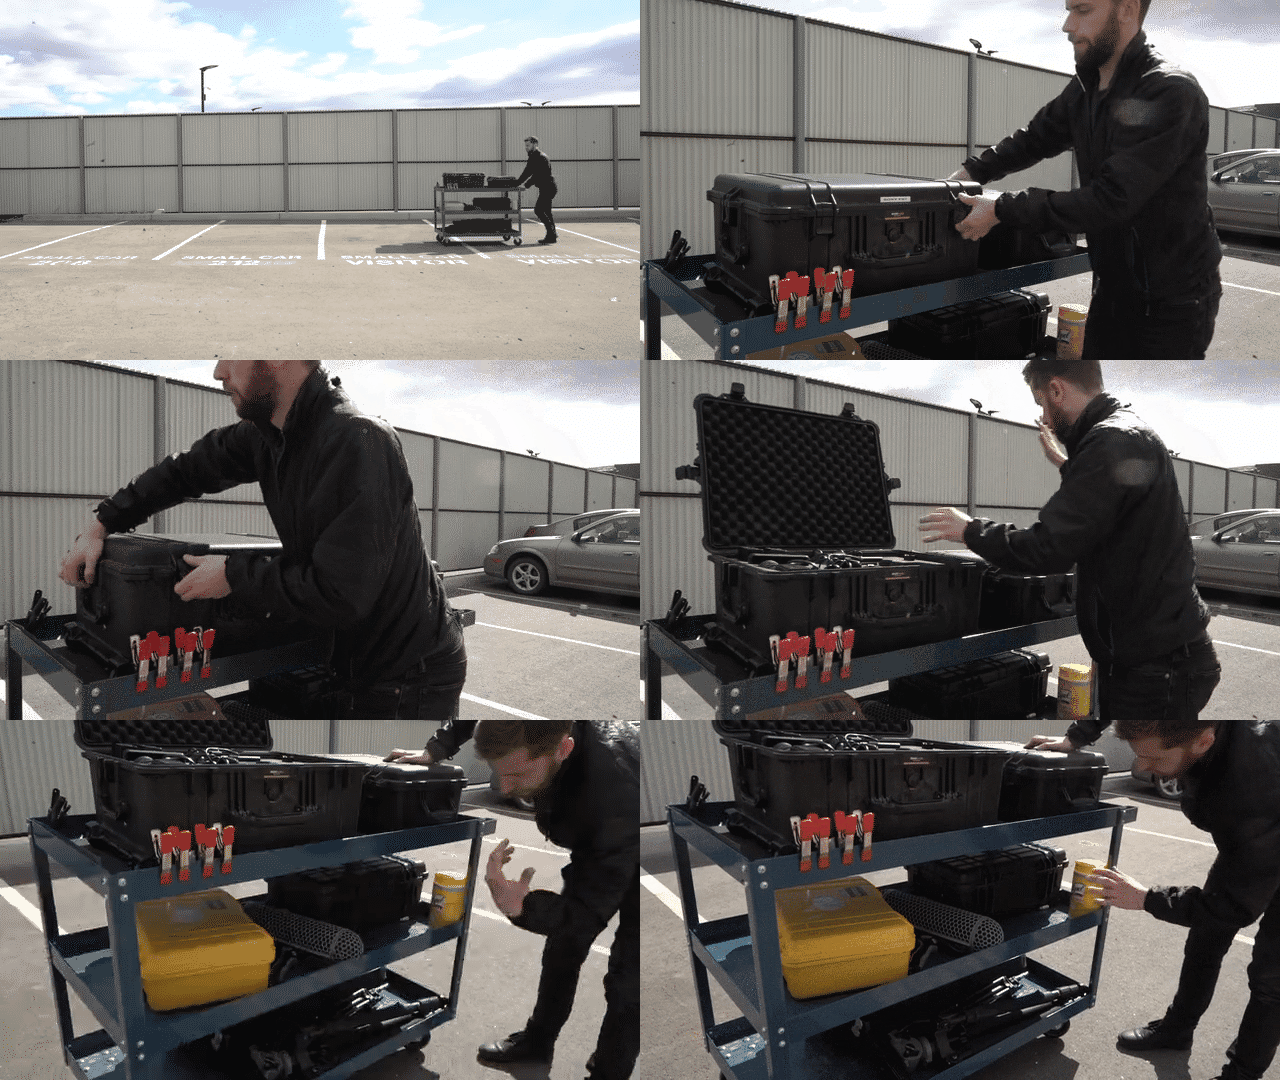
2. Get a wheeled-cart to hold cameras, lights, and tripods
We also purchased a large, wheeled cart that can hold our cameras, lenses, and larger equipment. We can put whatever we want here, but in most cases, this cart will host the following:
- Main camera: our Sony FS7, which we do most of our shooting with
- Secondary camera: a Sony A7S, for when we need a second camera angle
- All lenses: lenses for both cameras, including a large zoom lens and a collection of cine lenses
- Lights, stands and tripods: anything we might need to hold our lights and camera up
- Lysol: we’re able to keep our gear sanitized in every situation
This cart–and the cabinet–turn what can be 10 trips in and out of our gear storage area into two trips. Just wheel out the camera cart and the cabinet, and you’re good to go.
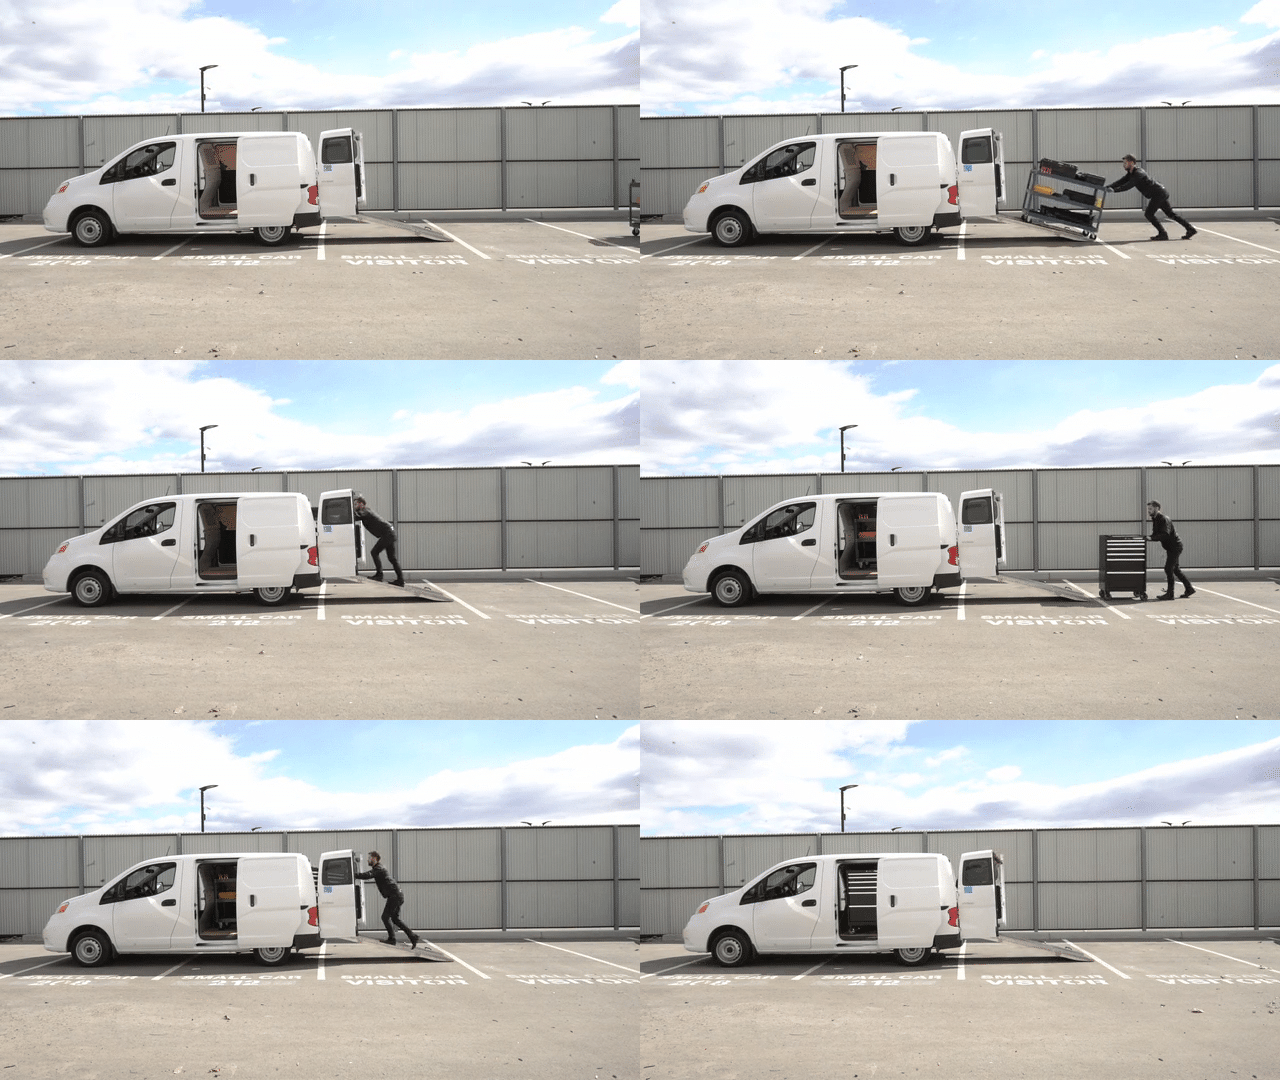
3. Outfit our vehicle with a ramp
This part was a fun bit of DIY. In our vehicle, we made a number of modifications before even installing a ramp:
- Plywood for the floor and walls: with all this heavy equipment, we don’t want the exterior metal of the van damaged. This provides some extra buffer between our gear and the actual vehicle.
- E-track inside the vehicle: this gives us something to attach ratchet straps to. We want everything tied down tightly so that our equipment doesn’t roll or rattle around back there. They have to be stationary.
- Barrier between driver’s cabin and cargo area: this is crucial. Even with the assurance that everything is tied down safely, you can never be too safe. If anything were to ever come loose, or we were in a collision, the occupants of the vehicle will always be protected by this barrier.
And lastly, of course, the thing that makes this whole idea work: a folding ramp. How else are we going to get our carts and cabinets into the vehicle? We briefly tried using a detachable, portable ramp, but we quickly pivoted to installing a fold-out ramp directly into the vehicle. It’s easy to maneuver, and helps us save that much more time.
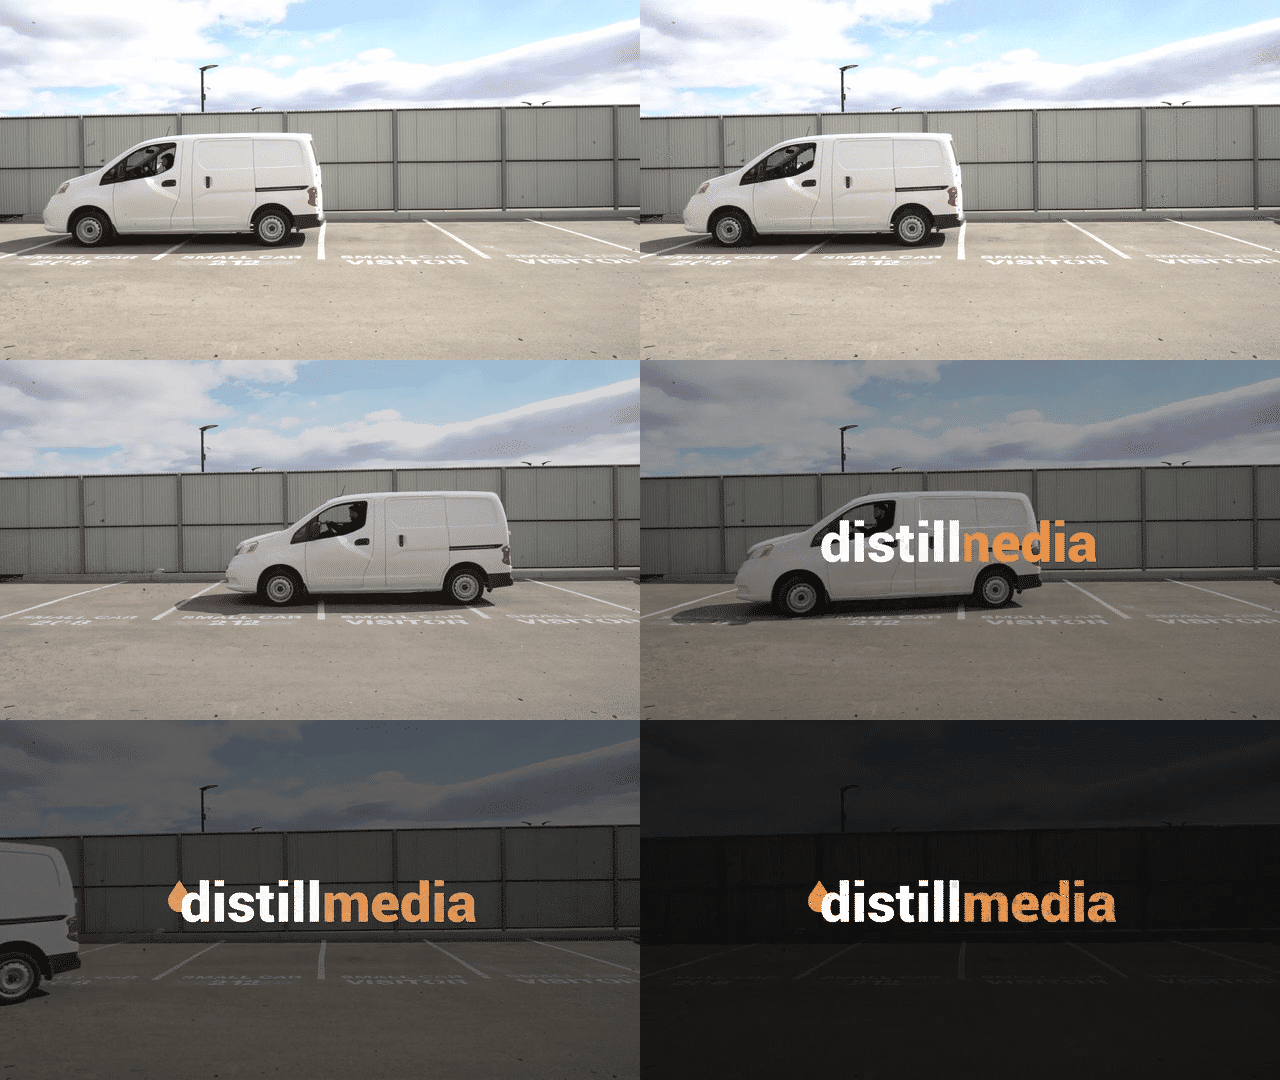
4. Drive off to the shoot
Now that all the work is done, we get to reap the benefits of all that work: a fast, efficient departure from our office to the video shoot. We have everything a video production company might need, and we have redundancies built-in to ensure we’re always perfectly prepared. If you’re looking to create something similar for your own company, we’d be happy to talk through some of the finer details, but I trust the information we’ve already laid out should be plenty of inspiration for a similar project. We’re much happier with our new work van than we’ve ever been prior.

